Element.nextElementSiblingとElement.previousElementSiblingを使って表示する画像を切り替えた話
こんばんは
甘口です。
先日投稿した2018年を振り返る記事でも少し触れましたが、
最近、画像投稿Webアプリケーションの作成に取り組んでいます。
qiita.com
github.com
今回は、その中でも個人的に気に入っている、
`Element.nextElementSibling`と`Element.previousElementSibling`の
2つを使って、表示する画像を切り替えた話をします。
画像の表示の切り替えに焦点を絞って話すので、
実際に実装している機能の殆どについては省略します。
また、作成しているWebアプリケーションではFlaskを用いていますが、
ここではHTML、JavaScript、CSSのみで動作確認をしたものを用います。
画像を表示する
CSSはこのようになっています。
[static/css/styles.css]
デフォルト
@charset "UTF-8";

body{
    background: #D2EFFA;
}

img{
    max-width: 180px;
    max-height: 180px;
    border: 10px solid #cccccc;
}
画像がクリックされたとき
img.table{
   display: inline-block;
   width: auto;
   height: auto;
   max-width: 100%;
   max-height: 100%;
   border: none;
}

.pic-table {
    display: none; /*画像がクリックされるまで非表示に*/
    background: #1d5acdaa;
    position: fixed;
    text-align: center;
    right: 10px;
    overflow: hidden;
    padding-top: 100px;
    top: 0;
    bottom: 0;
    right: 0;
    left: 0;
}

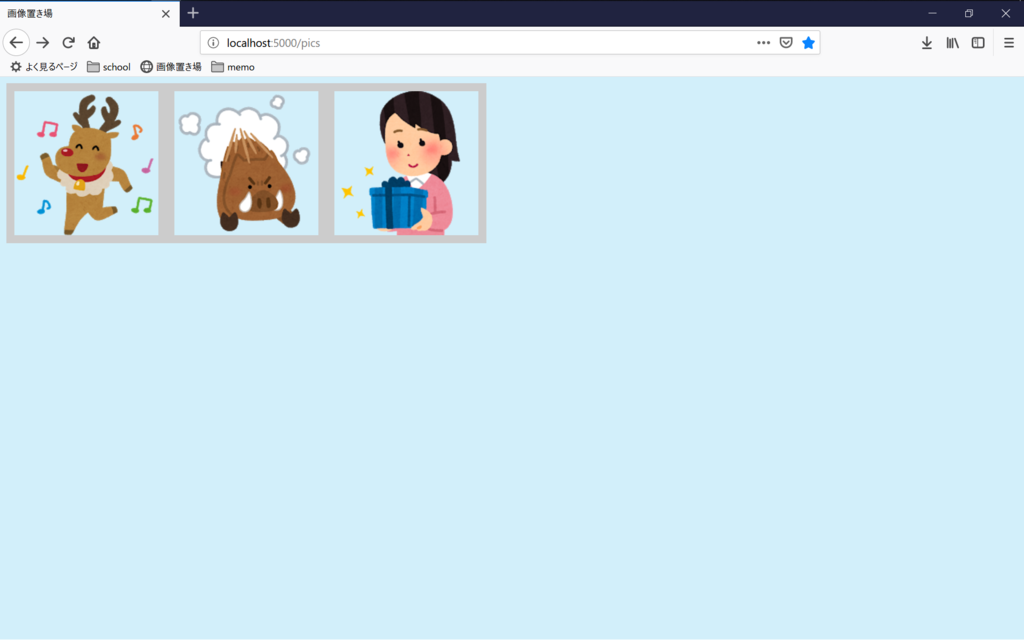
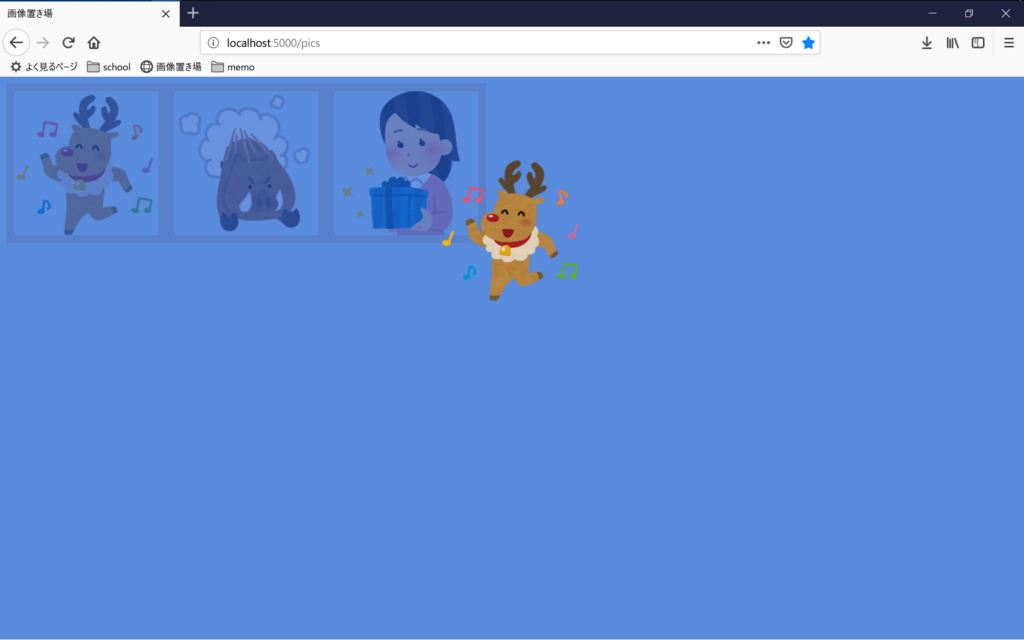
はじめに、上の画像をクリックすると、画面中央に画像が表示されるようにします。
[pic.html]
<!DOCTYPE html>
<html lang="ja">
<head>
    <meta charset="UTF-8">
    <title>画像置き場</title>
    <link rel="stylesheet" href="static/css/styles.css">
</head>
<body>
<div id="picTable" class="pic-table"></div>
<div id="alterAlbum"></div>

<script src="static/js/main.js"></script>
</body>
(id)alterAlbumで表示されている画像を(id)picTableで表示させます。
なお、alterAlbumは次のように、複数のimgの子ノードを持っているものとします。
<div id="alterAlbum">
    <img src="static/pic/christmas_dance_tonakai.png">
    <img src="static/pic/inoshishi_chototsu_moushin.png">
    <img src="static/pic/present_motsu_woman.png">
</div>
[static/js/main.js]
//画像がクリックされたことを伝える関数
function linePictures() {
  const img= document.querySelectorAll("#alterAlbum > img"); //alterAlbumのimgのNodeListを獲得
   img.forEach(picture => {
    picture.addEventListener("click", () => {
      showPicture(picture)
    })
   })
}
window.addEventListener("load", () => linePictures());

//写真を表示する関数
function showPicture(img_pic){
  const table = document.getElementById('picTable');
  let picture = "static/pic/" + img_pic.src.split('/').pop() //画像のパスの指定
  let img = document.createElement('img')
  img.src = picture
  img.classList.add('table') //img.tableのCSSを適用させる
  table.appendChild(img) //picTableに子ノードを追加
  table.style.display = 'block' //picTableを表示

//表示した画像がクリックされたら閉じるようにする
  img.addEventListener('click', () => {
    table.style.display = 'none'
    table.removeChild(table.firstChild)
    img.classList.remove('table')
  })
}
画像をクリックするとこんな感じになります。
表示された画像をクリックすると閉じます。
表示する画像を切り替える
ここからが本題です。
折角なので、クリックした後、矢印キーを使って画像を切り替えたいですよね?
……ということで、右矢印で次の画像へ、左矢印で前の画像へ切り替わるようにします。
ついでに、それっぽいのでEscキーを押すとpicTableを非表示にします。
関数showPicture
function showPicture(img_pic){
  const table = document.getElementById('picTable');
  let picture = img_pic.src.substr(img_pic.src.indexOf("static", -1));
/*--追加--*/
//これを追加しないと移動したときに元の画像が表示されたままになる
  while (table.firstChild) table.removeChild(table.firstChild);
/*--------*/
  let img = document.createElement('img')
  img.src = picture
  img.classList.add('table')
  table.appendChild(img)
  table.style.display = 'block'

/*--キー操作--*/
  document.onkeydown = function(e) {
    if (e) event = e;
    if (event) {
      if (event.keyCode == 27) { //Escキー
        table.style.display = 'none'
        table.removeChild(table.firstChild)
        img.classList.remove('table')
      }else if (event.keyCode == 39) { //右矢印キー
        showPicture(next(img_pic)) //次の画像を表示
      }else if(event.keyCode == 37) { //左矢印キー
        showPicture(previous(img_pic)) //前の画像を表示
      };
    };
  };
/*--------*/

  img.addEventListener('click', () => {
    table.style.display = 'none'
    table.removeChild(table.firstChild)
    img.classList.remove('table')
  })
}
関数next
 // 兄弟ノードの次のノードを返す、ない場合は先頭のノードを返す
function next(node) {
  const album = document.getElementById('alterAlbum');
  if(node.nextElementSibling) return node.nextElementSibling
  return album.firstElementChild
}
関数previous
 // 兄弟ノードの前のノードを返す、ない場合は末尾のノードを返す
function previous(node) {
  const album = document.getElementById('alterAlbum');
  if(node.previousElementSibling) return node.previousElementSibling
  return album.lastElementChild
}
できました。
関数nextとpreviousにはalterAlbumの子ノード(img)を渡しているので、
alterAlbumの中にあるimgを参照できる仕組みになっています。
おなかすいた pic.twitter.com/9NbIhvI5ON
— 甘口 (@butterchickenC) 2018年12月23日
nextSiblingとpreviousSibling
ところで、似たものとしてnextSiblingやpreviousSiblingがあります。
違いとして、nextSiblingやpreviousSiblingは、空白のテキストノードを参照することがあります。
空白のテキストノードの参照を考慮したくない場合は、nextElementSiblingやpreviousElementSiblingを使う方が良いのではないかと思います。
おわり
以上で、今回の話は終わりです。
ノードの参照の話は面白いですね。
JavaScriptの面白い部分に触れられた気がします。